Monday, March 4, 2013

Google Sketchup Design Exercise 3

On this last exersice I had a difficult time working on it. The first three or four steps were really easy to do. But as soon as I begin to start on the stairs I had to most difficult time. I wasnt very successful on makeing the stair a component as I frequently always included the wall as part of the component. I was in class the whole rest of the period working on that. I was determined to worked on it and at home I finish the stairs including the rail. While doing the rail I had thought it was going to be something difficult but if you follow the steps it turn to be actually easy to do. The rest of the exercise included very easy thing such as adding furniture to the room. I think I did took a while as there were many components when adding a certain item. It took me a while to find what actually was on the exercise, however on some of the things i was looking for a long time but couldnt find the exact thing to i just added soemthing similar to it. At home I did had a long hour trying to do the rail on the second floor I was exhaust and fustrated as i could get the rail done. At school I was able to accomplish the rail so at home I just went and added the rail. I think that the most difficult part was making my own rail.

Thursday, February 14, 2013

Google SketchUp Design Exercise 2

In this exercise I had a long diffuilt time. I must say that this one require of following step by steps. I took me two days for me to finally figure the way I could add the windows. In this exercise I learn how to make a compenet and how to move and copy an entire row of windows. I also learn how to edit more then one thing at a time instead of doing it one by one. I was also to use make unique certain windows instead of the others. I also was able to use the key to insert spaces that that I would like between the items that I have added on to the building. In this building I was also able to add a arche to the building. I have to say that the most difficulty part of this would be have to make the whoel entire window a component and moving it as well.

Monday, February 4, 2013

Google Sketchup Design Exercise 1

On this exercise I was able to get a more experience on how to use the tools. I was to make a house where I added windows and a door . I was able to make a roof using a simple square. I learn how to make it visuable inside the house by erasing certain parts that I didn't wanted . I found the dufferent type of color that they had for a specific part of the house . For the windows i was able to make them transulcent, this allows for the viewer to see in side the house. I also added a arche that then become a window, to make it for people to see inside I had to erase the window and adjust it. Towards the end I was able to add a text in 3D and adjust the side and the color.

Tuesday, January 29, 2013

Google SketchUp Self-Paced Tutorial - Part 3

For this section I baiscally did a deck for a house I was able to pulll different sides of it. I added rectangles that later on turn into the support for the deck.I also was able to see the different types of styles that there is. You can choose from various such as wireframe mode, line mode, shaded mode and xray mode. The tutorial also allow me to see the different ways to see our sketch with the display setting.

Monday, January 28, 2013

Google SketchUp Self- Paced Tutorial - Part 1

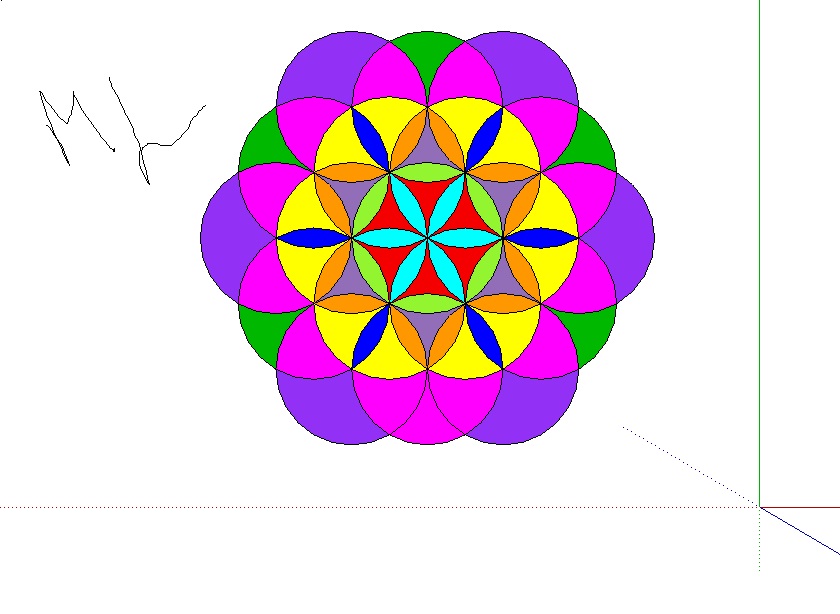
In this section I learn a few other things that you can do while using Sketch Up  I was able to move objects around to any place I wanted to. Not only this but I also can add color to any surface that I want to. The are various folders where I can choose any texture or color that I would like to add to that surface. Another thing that I learn while doing this section is that you can add shadows. Not only you can add shadows but also change the way the look. There is an option where you can adjust it according to the color, day, and time. Which i found to be amazing, since I never notice that while using any other program.

Friday, January 25, 2013

Introduction to Google Sketchup - 30 Notes

  1. To select all visible entities in a model press Crtl+ A
  2. Tool pallet consist of 23 tools to use.
  3. The orbit tool allows you to view the object in a ny side.
  4. When using the orbit tool you are not moving ot rotating the model instead you are moving.
  5. While using the orbit tool you can view the model from the top and bottom as well as any side.
  6. There is a Zoom tool thats allows you to zoom towards the model as well as away from it.
  7. To zoom in you move the mouse foward and to zoom out you zoom backward.
  8. The Pan tool is to move the model back and forth on the screen .
  9. The zoom, orbit and pan are called the naviagtion tools.
  10. When using sketchup you can move easily using this tools.
  11. The rectangle tool allows you to make several rectangles in sketch up.
  12. Is recommended to not have rectangles crossing over each other.
  13. You can look around the rectangles using the orbit tool.
  14. The push/ pull allows you pull up the rectangles into a 3d model
  15. When using the push/pull model you can use the orbit tool to look around the model and adjust any side that need to be widder, longer or taller.
  16. In sketchup the tools will infer to corners edges and other geometry.
  17. While having a rectangle on another on you can push and pull on that one as well.
  18. Skecthup have a 3d warehouse where you can share and get models.
  19. The arrow on the top icons allows you to select anything.
  20. The red pencil allows you to draw lines
  21. The rectangle, crircle and arce tool is do draw any of this three shapes.
  22. The eraser allows you to erase anything you dont wont, you can do side or lines .
  23. Another way to access it is by clicking E on the keyboard.
  24. The tape measure tells you how long something is .
  25. The paint bucket allows you choose from any folder a material to use on the model.
  26. The move/ copy tool allows you to move the model around.
  27. The ofset tool is to make a side larger or smaller.
  28. The box the with yellow arrow allows you to get models.
  29. The box with the orange arrow is to share models.
  30. They have a parallel projection, and a two point perspective.